
Getting Started
Quickstart Guide
Written By: Thomas
Last Updated on June 24, 2025
This guide provides a quick overview of the Spatial Analogue app for Apple Vision Pro, highlighting everything you need to get started and create your own immersive scenes.
First Steps
1. Signing In:
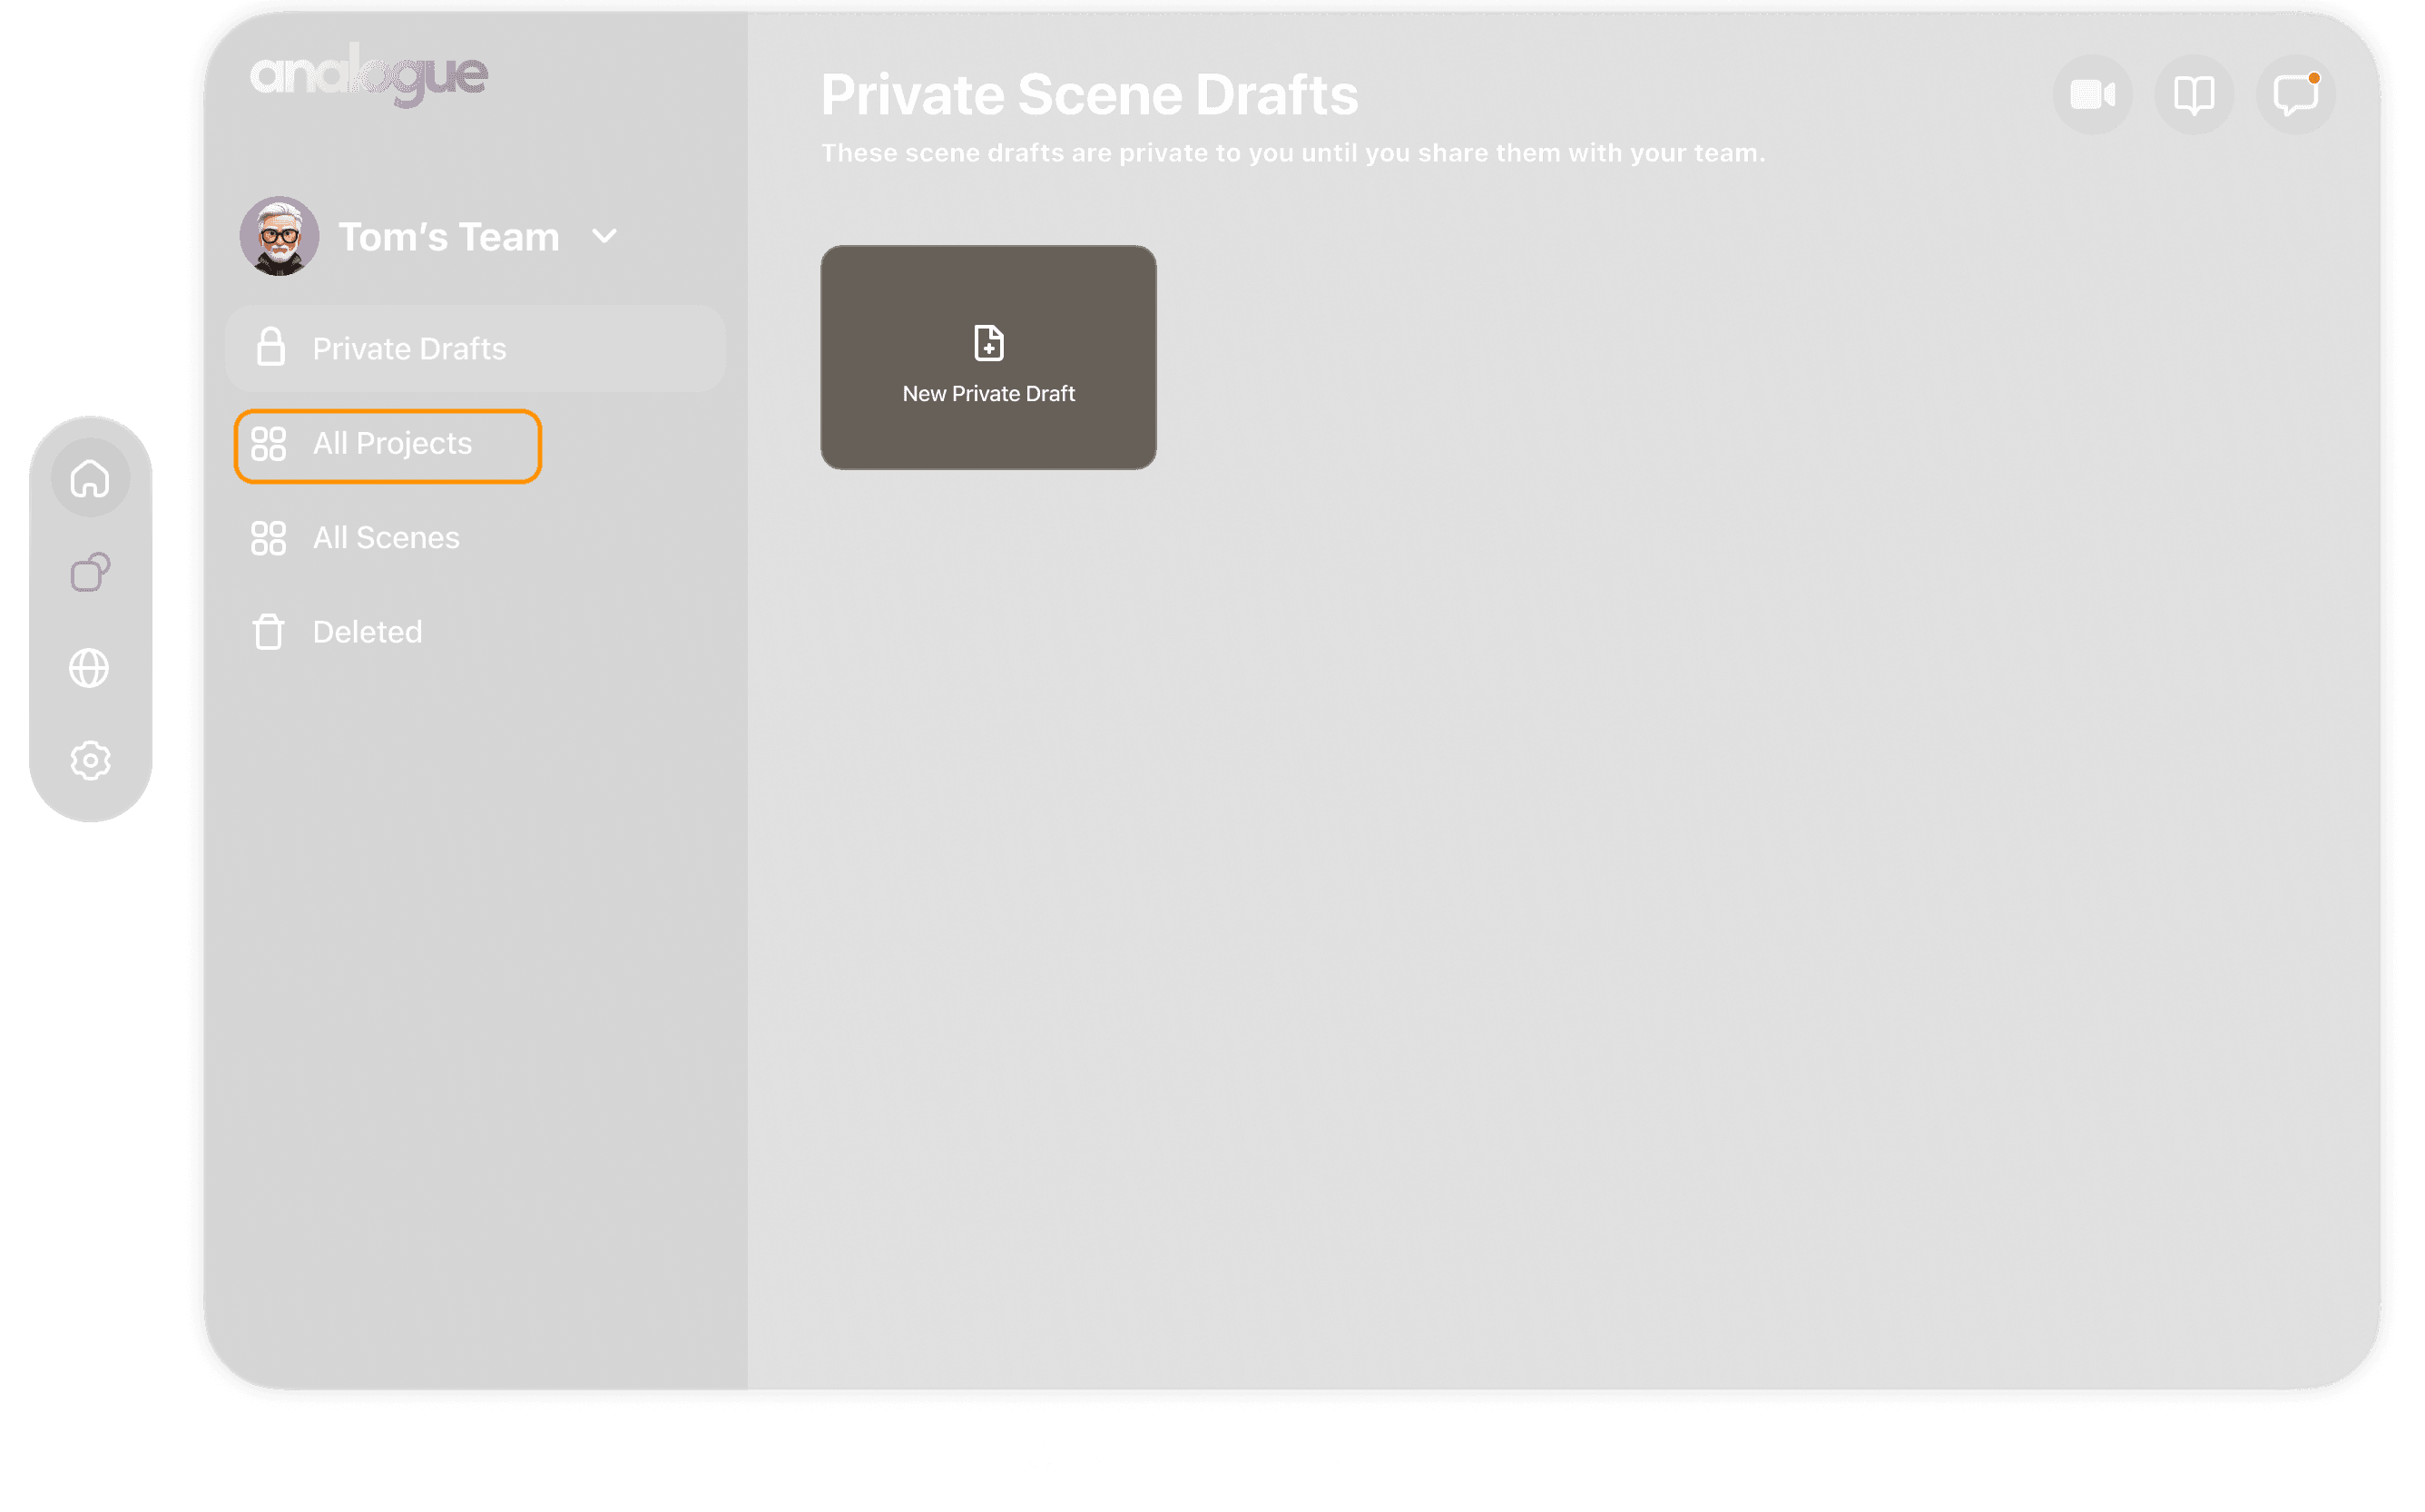
After signing in, you'll arrive at your Private Drafts screen. This is your personal workspace where everything you create is visible only to you. We'll cover creating a Team and sharing your private scene drafts later!
2. Launching the Quickstart Guide:
Locate the "Quickstart Guide" scene in from your Private Drafts section. Tap on it, then select "Launch Scene" from the menu that appears.

Welcome to the Scene!
A short welcome video will automatically play, introducing you to the app. You can double-tap anywhere on the video to reveal playback controls (like play/pause). Once the video finishes, feel free to reposition the documents window so you can comfortably read along as you explore the scene.
Using the Designer Tool
Look for the Immersive Control bar (image below), which typically appears in front of you when you enter a scene.

• Tap the pencil icon on this bar to open the "Designer".

The Designer is where you'll build and arrange everything in your 3D scenes. Let's try a few things, continuing with the Quickstart Guide instructions below.
Exploring Scene Interactions
(3) Changing the Porsche's Color:
Look above the Porsche in the scene. See that glowing orange disc? This is an action indicator. When you see this on an object, it means you can tap it to change something about that object. Go ahead and look at the orange disc and tap it. A menu will pop up with color options for the Porsche. Give a new color a try!
(4) Changing the Scene's Environment:
Look for the environment switcher icon on the Immersive Control bar (you'll see this icon in the video above). Tap it to open options for the scene's environment. In this guide, you can switch the lighting and atmosphere between "Dark" and "Light." Tap one to see the immediate change!
Placing Assets in Your Scene
(5) Auto-place the couch asset:
Open the Library panel and navigate to the "Furniture Assets" folder. Locate the couch asset. On the far right of the line item, you'll see two buttons next to each asset. Tap the rightmost icon (a box with a down arrow). This button auto-places the couch in the exact position it was in the original Blender project. Other furniture assets in this folder don't have a reference to the scene origin, so you'll place those manually.
(6) Manually place the lamp asset:
Now, select the lamp asset from the Library panel and try placing it manually in the living room area. Once the lamp is placed, ensure it's selected in the Scene Assets panel. On the right-side panel, you'll see the lamp's properties. Find the (X) axis setting. Pinch and hold it, then look back at the lamp in the scene. While still pinching, move your hand left or right. You'll see the lamp slide along the X-axis. For precise placement, you can also tap on the number setting next to any axis and manually input a value.
(7) Adding an Image Pane:
Let's add an image to your scene. Open the Team Library by tapping the library icon (the second icon from the top) on the left panel. This will display your asset library. Select the image titled "Spatial Analogue Poster.png."
Once loaded, the image will float, aligned with your view. Position it where you want, then tap to place it. With the image selected in the left panel, look to the right panel to experiment with its properties.
(8) Create a Discussion Thread:
Select the astronaut from the Scene Assets panel. On the right panel, tap the comment icon to switch to the discussions view. Here, you can create a new discussion topic specifically about the astronaut asset. This feature allows team members to start conversations around individual assets.
You can also leave general comments in the scene-wide discussions area. Try creating a discussion! You'll be able to view all the discussions you've participated in from either the Workspace or Designer, making it easy to respond to questions without needing to enter an immersive scene.
(9) Exiting the Designer
Now you're ready to build your own scene! You have two options:
Create Scene Draft (Private): To work on a scene privately first, choose "New Private Draft" from your Private Drafts section. Scenes created here won't be visible to your team until you decide to share them.
Create a New Scene (Shareable): First you will have to create a Team. You can select from the account pulldown menu, "Create New Team". To start a scene that can be immediately shared with your team, select "New Scene" from within an existing project. You can use the default project "My Project" (you can rename this project) by tapping it and then tapping on the New Scene icon. Remember, when creating a new scene within a Team project, all your invited team members will be able to access this scene and depending on their roles you've setup for them, they may be able edit or comment on the scene.
Remember, collaboration is central to Analogue's design. When your team works together on a scene, all changes happen in real-time.
Related to Getting Started